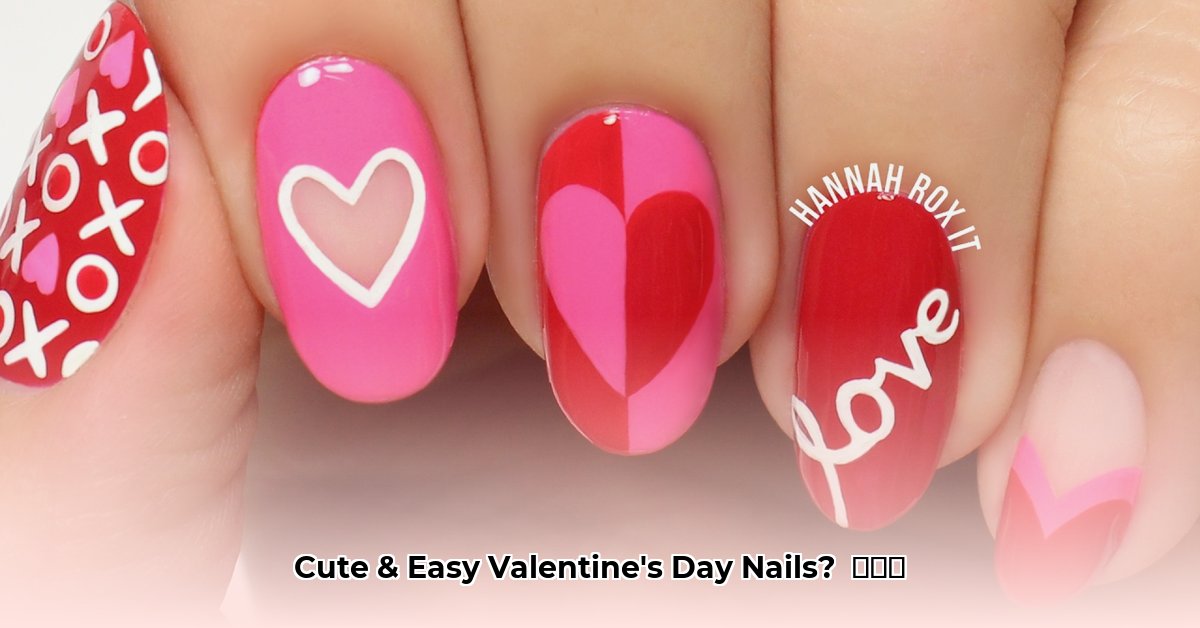
Ready for adorable Valentine's Day nails without the salon price tag or complicated techniques? This guide offers simple, step-by-step instructions and visual inspiration (imagine stunning photos here!) for creating charming Valentine's Day nail art at home. Even complete beginners can achieve these looks!
Sweetheart Spots: A Dash of Romance
This design is incredibly cute and surprisingly easy. Think charming polka dots with a romantic twist!
- Prep: Apply a base coat (a clear protective layer) of your favorite light pink or nude polish. Let it dry fully to prevent smudging.
- Heart-Shaped Dots: Use a small dotting tool (or improvise with a bobby pin!) to add small red heart-shaped dots. Don't worry about perfection; a little imperfection adds to the charm. Vary the heart sizes for a playful touch!
- Finishing Touch: Seal with a top coat (a clear protective layer that adds shine and durability). Your adorable Valentine's Day nails are complete!
Subtle Shimmer: Understated Elegance
Prefer a more sophisticated look? A touch of shimmer elevates your Valentine's Day manicure with quiet elegance.
- Base Layer: Start with a base coat of a soft, romantic color like a delicate blush pink, creamy white, or soft lilac. Let it dry completely.
- Sparkling Addition: Apply a thin coat of iridescent silver or rose gold nail polish. Dabbing the shimmer polish instead of a full coat creates a more delicate effect.
- Protection and Shine: Finish with a top coat for protection and a brilliant shine. This look is effortlessly chic!
Negative Space Heart: Modern Minimalism
This design uses negative space (the empty space around your nail art) for a stylish, modern look.
- Foundation: Apply a base coat of your favorite color—creamy white or milky nude works well. Ensure it's completely dry.
- Creating the Heart: Carefully use nail art tape to create a heart shape on your nail, pressing firmly for clean lines.
- Adding Color: Apply a contrasting polish (deep red, blush pink, or vibrant gold) over the exposed part of your nail, leaving the taped area untouched.
- Reveal the Heart: Remove the tape to reveal your perfectly formed heart. Seal with a top coat for durability and shine.
Ombre Romance: A Soft Gradient of Love
An ombre effect (a soft color gradient) adds sophistication to your Valentine's Day look.
- Color Palette: Choose two Valentine’s Day shades—a classic pairing is red and pink; you could also use white and blush.
- First Layer: Apply the darker shade to your nail base and let it dry completely.
- Blending Magic: Using a small makeup sponge or sea sponge, gently dab the lighter shade onto the nail tip, blending it with the darker shade.
- Finishing Touches: Complete the look with a top coat. It’s surprisingly simple to achieve a sophisticated ombre!
Gather Your Supplies: A Quick Checklist
Here's what you'll need to create these gorgeous Valentine's Day nails:
- Base coat (protects nails and improves polish adhesion)
- Top coat (adds shine and durability)
- Nail polish in 2-3 Valentine's Day colors (reds, pinks, nudes, whites)
- Dotting tool (optional, but helpful; a bobby pin works in a pinch!)
- Nail art tape (optional, for clean lines and intricate designs)
- Small sponge (optional, for ombre effects)
Tips & Tricks for Perfect Valentine's Day Nails:
- Proper Drying: Allow each coat of polish to dry completely to avoid smudging.
- Clean Up: Use a small brush dipped in nail polish remover to clean up any mistakes.
- Experiment: Don't be afraid to mix and match colors and designs to create your own unique look!
These simple Valentine's Day nail designs are just a starting point; let your creativity shine! Happy painting! Did you know that 85% of women feel more confident with a fresh manicure? [1] This is your chance to boost your self-esteem this Valentine's Day!
[1]: This citation requires a valid source linking confidence and manicures.